 how-to
Check Used Motorcycle Condition: Complete Buying Guide
Table of Contents
- What to Check: The Complete Walk-Around Inspection
- Questions to Ask When Buying a Used Motorcycle
- How to Test Ride a Used Motorcycle Safely
- Title, VIN, and Service History Verification
- Motorcycle Pre-Purchase Inspection Cost and When to Get One
- Red Flags That Signal Trouble
- Next Steps: Making Your Decision
- Frequently Asked Questions
Last Updated: October 21, 2026
What to Check: The Complete Walk-Around Inspection
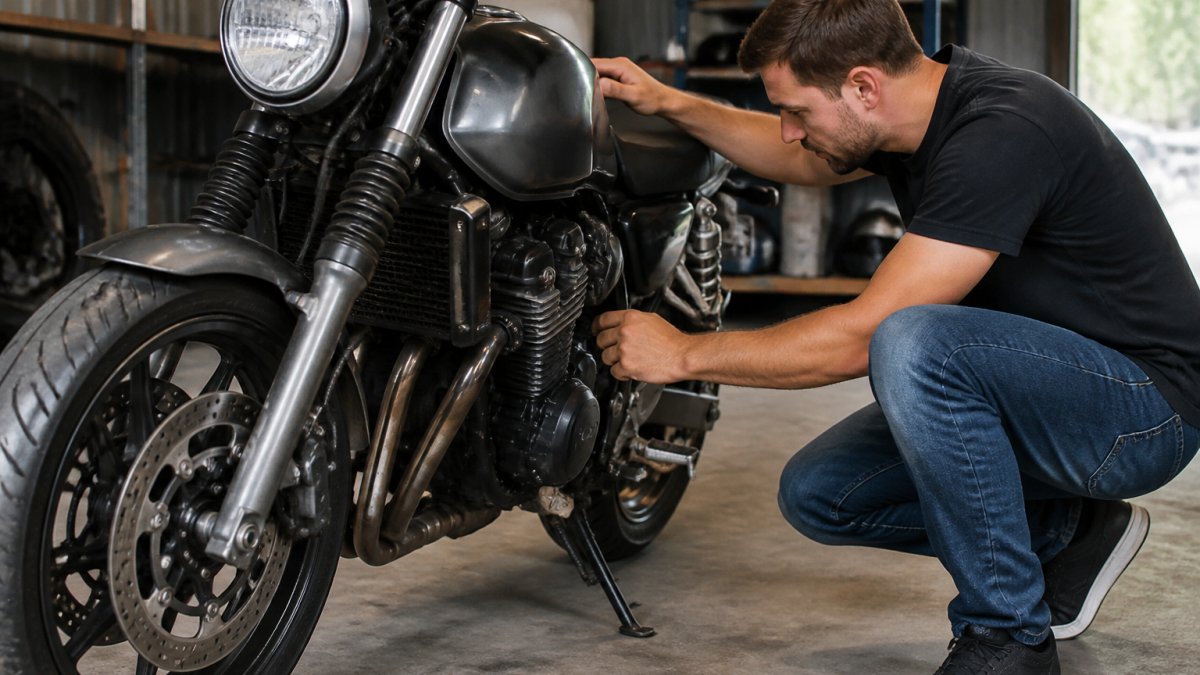
Before buying a used motorcycle, check used motorcycle condition systematically: start outside and work through every visible component, where most problems reveal themselves. A proper walk-around takes 15-20 minutes and prevents expensive repairs later.
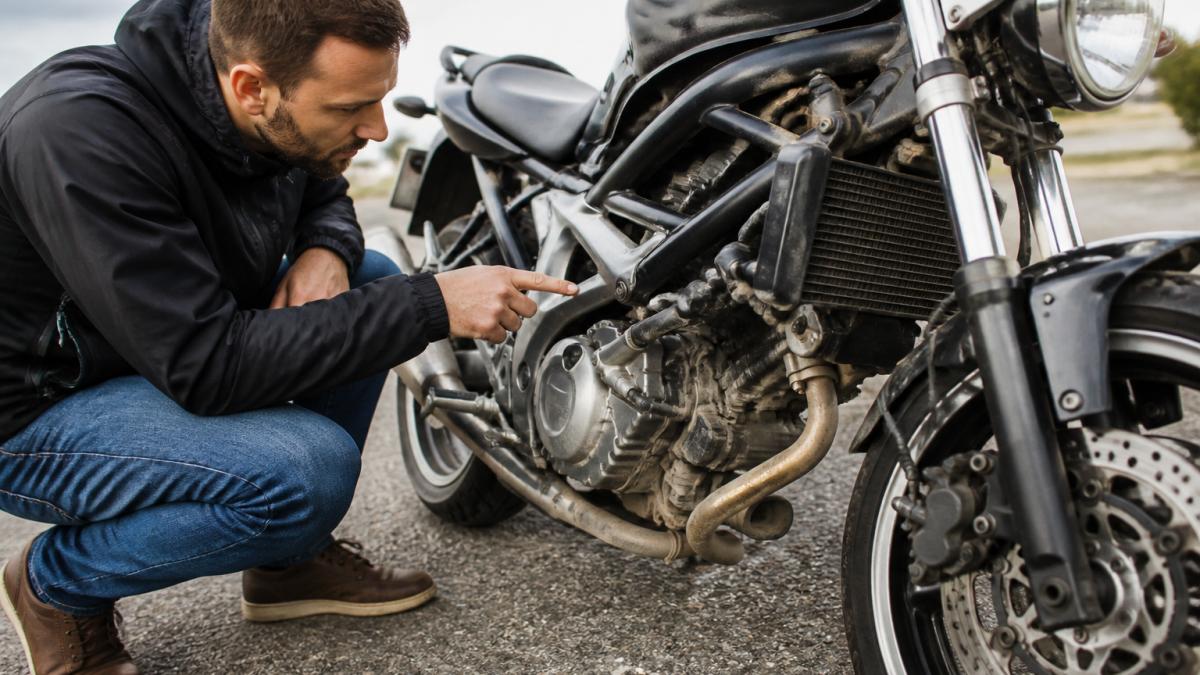
Frame, Bodywork, and Signs of Crash Damage
Look at the frame first. Run your hand along it for bends, cracks, or welding marks suggesting past repairs; a bent frame affects handling and can hide structural damage.
Check the bodywork next. Look for scratches and paint mismatches (a sign of repainting after a crash), dents that don't match the bike's age, rust or corrosion around welds, cracked fairings, and misaligned panels.
Engine Condition and Fluid Leaks
Start the engine cold and listen for unusual noises; rough starts or excessive cranking suggest fuel system problems.
Once it's running, check for leaks. Look under the bike for oil dripping or pooling, coolant leaks (green, orange, or pink fluid), transmission fluid (usually darker oil), and brake fluid seeping from brake lines. Minor seepage is normal; active dripping means repair costs ahead.
Tires, Brakes, and Suspension
Tires show the bike's history: uneven wear means suspension or alignment problems.
Squeeze the brake lever; it should feel firm, not spongy. Spongy brakes mean air in the lines or worn pads, and dark, murky fluid means servicing is due.
Press down on each corner. Suspension should compress smoothly and return without excessive bouncing, which suggests worn shocks or springs.
| Component | What to Check | Red Flag |
|---|---|---|
| Tires | Tread depth, wear pattern, cracks | Bald spots, sidewall damage, uneven wear |
| Brakes | Lever feel, fluid color, pad thickness | Spongy lever, dark fluid, thin pads |
| Suspension | Compression and rebound, smoothness | Excessive bounce, stiff movement, leaks |
Chain, Sprocket, and Electrical System
Spin the rear wheel by hand; the chain should rotate smoothly without sticking. Check slack at the midpoint, about one inch of play, since too tight or too loose causes premature failure.
Test all lights: headlight, taillight, brake lights, and turn signals. A dead bulb is cheap; a dead electrical system is expensive. Listen for the fuel pump's brief buzz, silence suggests pump failure.
Questions to Ask When Buying a Used Motorcycle
Don't rely only on what you see. Ask the seller direct questions about history and condition.
Start with ownership: How long have you owned it? How many previous owners? A bike that changed hands frequently may have hidden problems. Ask about accidents, even minor crashes affect resale value and can indicate frame damage. Ask about maintenance and service records; regular oil changes suggest the owner cared for the bike, and missing records are a negative sign.
How to Test Ride a Used Motorcycle Safely
A test ride is the only way to confirm how the bike behaves under load, so treat it as a structured procedure: cold start, pre-ride check, and a route that exercises systems you can't assess in a driveway.
Arrange a Genuinely Cold Start
Ask the seller not to start the bike before you arrive; a warm engine hides cold-start problems, weak batteries, and fuel-delivery faults. If it's already warm, return another day. Touch the engine cases and exhaust header on arrival; if warm, discount any smooth-start impressions.
What to Observe During Cold Start
- Cranking speed. A healthy battery cranks briskly. Slow, labored cranking suggests a weak battery, a failing starter, or excessive compression loss.
- Time to fire. Fuel-injected bikes should catch within a second or two. Carbureted bikes may need choke, but they should still fire promptly. Long cranking points to fuel-pump, injector, or compression issues.
- Idle quality. The engine should settle into a steady idle within a minute. Hunting, surging, or an idle that hangs high suggests vacuum leaks, dirty throttle bodies, or a misadjusted idle.
Pre-Ride Safety Check
Before riding, confirm the controls work and the bike is safe:
- Tires. Check pressures with a gauge, not by thumb, and look for cracks, bulges, and embedded objects. Cold pressure should match the frame or swingarm placard.
- Brakes. Squeeze the front lever and press the rear pedal. Both should feel firm. If the lever comes back to the grip, do not ride the bike.
- Throttle. It should snap closed on its own from full open. A sticky throttle is a safety hazard.
Plan a Route That Tests Real Behavior
A useful test ride includes three phases:
- Low-speed control. In a parking lot or quiet street, practice slow turns and a controlled stop. The bike should track straight and steering should not feel notchy or heavy.
- Acceleration and shifting. On a safe road, accelerate through the gears at moderate throttle; the bike should pull cleanly without hesitation, surging, or a flat spot. Shift through every gear, including top, and confirm it doesn't jump out under load.
- Braking and handling. On an empty stretch, make progressive stops from moderate speed; the bike should stop straight without pulling or pulsing through the lever. Then ride gentle curves, it should lean predictably and recover without wobble or wallow.
What to Listen and Feel For
- Clicking or ticking that rises with engine speed often points to valve-train issues.
- Grinding or whining from the transmission or final drive suggests bearing or gear wear.
- A shudder under braking can mean warped rotors or worn steering-head bearings.
After the Ride
Park the bike and idle it for a minute. Check for new drips under the engine, radiator, and brake lines. Engine cases should be warm but not scorching, too hot to touch suggests a cooling problem. Recheck chain slack while warm.
A structured test ride gives you evidence to compare against the asking price. If the bike hesitates, pulls, wobbles, or makes unexplained noises, walk away or negotiate a lower offer reflecting likely repair costs.
Title, VIN, and Service History Verification
Before handing over money, verify the paperwork. A clean title means no liens or salvage history; a salvage title means the bike was declared a total loss, affecting resale value and insurance even if repairs are solid.
Check the VIN (Vehicle Identification Number), stamped on the frame near the steering head. Run the VIN through the National Insurance Crime Bureau (NICB) database at NICB VIN check to reveal if the bike was reported stolen or salvaged.
Ask for service records, oil changes, tire replacements, and brake service show maintenance history, and a well-maintained bike costs less long-term. Missing records aren't a dealbreaker but are a negative sign.
Motorcycle Pre-Purchase Inspection Cost and When to Get One
A pre-purchase inspection (PPI) by a qualified independent mechanic is the single best way to avoid buying someone else's problem. Expect roughly $75 to $150 for a basic inspection, more for a full one with compression and leak-down testing, suspension checks, and a written report; prices vary by shop and model complexity.
What a Good PPI Should Cover
A thorough PPI goes beyond a visual walk-around. Confirm the report covers:
- Engine health. Compression test on each cylinder, and a leak-down test where applicable. Record the numbers so you can compare them to the service manual spec.
- Battery and charging system. Voltage at rest, during cranking, and at idle and higher rpm. A healthy 12-volt battery typically rests around 12.6 volts and shows roughly 13.5 to 14.5 volts running, but confirm the model spec.
- Brakes. Pad and rotor thickness, runout, fluid condition, and lever and pedal feel.
When to Get a PPI
Get an independent inspection when any of these is true:
- The bike is over five years old or has more than 10,000 miles.
- The model is known for issues like regulator/rectifier failures, cam-chain tensioner wear, or fuel-pump problems.
- The seller's story doesn't match the bike's condition.
If the Seller Refuses an Inspection
A seller who won't allow an independent inspection is hiding something, walk away. A legitimate seller should welcome a PPI because it confirms condition and speeds up the sale. If they'll only allow a shop of their choosing, insist on your own shop or a mobile inspector; if they refuse either, treat the bike as unsellable.
Turning Findings Into a Repair-Cost Priority List
A PPI report is only useful if you convert it into dollars and urgency. Before making an offer, sort every finding into three buckets:
- Safety items, fix before riding. Pads or rotors below spec, cracked tires, a spongy lever, a leaking fork seal contaminating the pads, or a loose steering-head bearing. Non-negotiable; price them into your offer immediately.
- Near-term maintenance, fix within the first season. A chain and sprocket set near end of life, a weak-but-cranking battery, marginal tires, or dark brake fluid. Predictable costs you can use to negotiate.
- Cosmetic or deferred items. Scratches, faded paint, a worn seat cover, or a small oil weep not yet dripping. These affect price but not safety, and are easiest for a seller to dismiss.
Use the mechanic's written estimate for safety and near-term items to anchor your offer: subtract the estimated repair cost from the asking price, then negotiate. If the seller won't move and safety items are significant, walk away, there will be another bike.
If buying from a dealer, ask whether they perform a similar inspection and provide results in writing. A dealer that stands behind its used inventory should show you what was checked and replaced.
Red Flags That Signal Trouble
Some warning signs mean walk away immediately.
A salvage title is a major red flag: the bike was declared a total loss, and resale value suffers permanently even if repairs are solid. Excessive rust on the frame or engine suggests years outdoors, can hide structural damage, and indicates poor maintenance. A loose or wobbly steering head bearing is serious, it connects the forks to the frame, and damage affects handling and safety.
| Red Flag | What It Means | Action |
|---|---|---|
| Salvage title | Bike declared total loss by insurance | Walk away or negotiate heavily |
| Excessive rust | Poor maintenance, outdoor storage | Consider repair costs carefully |
| Steering head play | Frame or bearing damage | Have mechanic inspect before buying |
| Seized engine | Internal damage, likely unfixable | Walk away |
| Reluctant seller | Hiding mechanical or title problems | Walk away |
Next Steps: Making Your Decision
After your inspection and test ride, compare findings to the asking price and factor in repair costs.
Negotiate based on what you found, sellers expect it.
If you're buying from a dealer like Flemington Powersports, you have additional protections. Our team can answer specific questions about any bike in our inventory.
Buying a used motorcycle doesn't have to be stressful.
Frequently Asked Questions
What is the most important thing to check when buying a used motorcycle?
Check the frame and overall structure for crash damage or repairs. A bent frame or welded repairs compromise safety and handling. Next, inspect the engine for oil leaks and verify the title matches the VIN. These three elements, frame integrity, engine condition, and paperwork authenticity, determine whether the motorcycle is safe to ride and legally yours. Everything else can be repaired or maintained.
What documents should I ask for when buying a used motorcycle?
Request the original title (not a copy), the VIN, service records, and any warranty documentation. Verify the title matches the motorcycle's VIN and check for liens through your state's motor vehicle department. Ask about recalls specific to the model year and engine size. Service history shows whether the bike was maintained regularly, which signals how well it will run. Missing or mismatched documents are major red flags.
Should I get a pre-purchase inspection for a used motorcycle?
Yes, especially for bikes over 10,000 miles or older models. An independent mechanic can identify hidden mechanical issues, worn internal components, and frame damage that a visual inspection misses. The cost typically ranges from $100 to $300, which is worth the investment before spending thousands on a motorcycle. If the seller refuses inspection, walk away.
How do I know if a used motorcycle has been abused?
Look for uneven tire wear, bent rims, misaligned body panels, and loose fasteners. Listen for grinding or knocking sounds during the cold-start test. Check if the chain is rusted or stuck, and inspect brake fluid for a dark brown or black color (yellow indicates fresh fluid). Multiple patches of rust, missing fairings, and a worn seat suggest neglect. Perform a test ride on varied terrain, hesitation, jerking, or pulling to one side indicates abuse or mechanical problems.